We've had such great luck with all of the raised garden beds, it's now time to build another.

We've had such great luck with all of the raised garden beds, it's now time to build another.
Codes Compliance restrictions prohibit my being able to utilize a proper concrete footing (without a payoff and inspection delay).
The alternative was to over-build the planter. If I am not free to build this with a proper foundation, then it will be built with a "floating" foundation with plenty of added ballasting instead.
The first course of landscaper blocks (for the radii) and the rock rectangle blocks (for the straight walls) possess absolutely no mortar. I've experimented with this procedure with the past six planters, it seems to work well as drainage has not been a problem to date.
This planter will become #7 and the largest of the other planters here.

Solid Rock chunks being installed into the ground without mortar.


Turning the rock chunks in alternate directions allow for later ballasting.
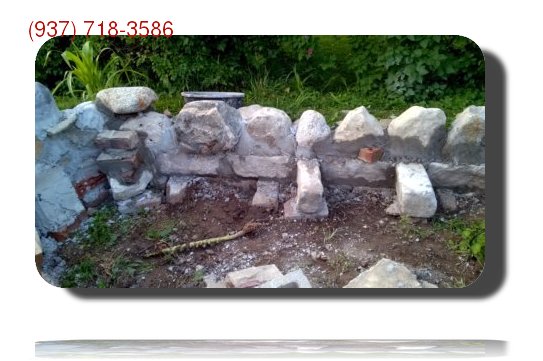
The first course of rock is installed upon two courses of rock cubes
(the first course of rock cubes hasn't any head joints and is mostly under grade).
The color black is undesirable here, it goes with nothing.
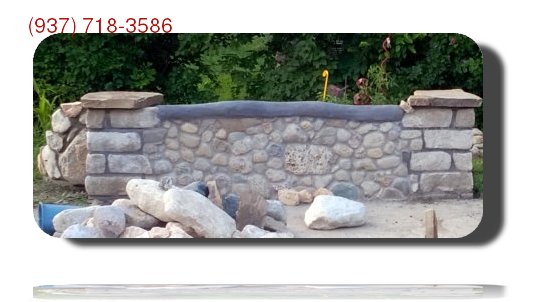
I even added dyed mortar to the corner joints hoping that the darker colored joints would give a reason for a black cap. 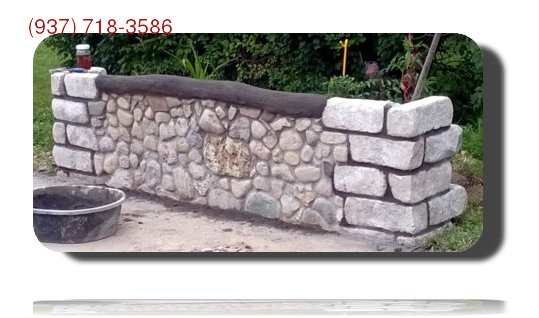 Still ugly.
The shape and color is supposed to resemble a log. However I didn't put a lot of effort into it.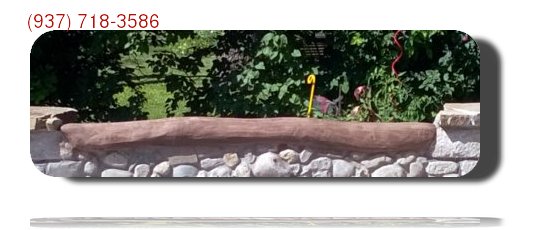
The front cap will require covering to cure properly.

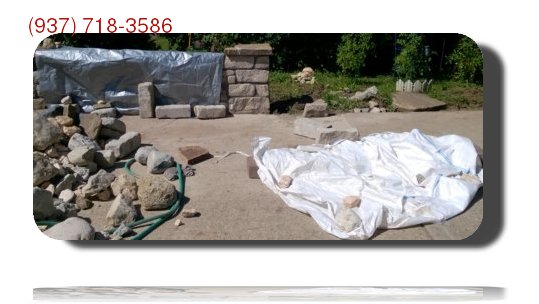
 Oops, it's windier than I thought.
But what about Capping the wall?
One option was to cap the wall using common pavers. 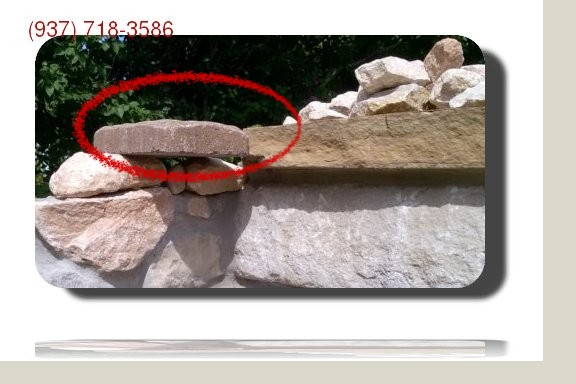
However, each paver would have to be custom cut to work around the arc of the semi-circular areas. There would also need to be another layer of the pink rocks to bring the paver to the same height as the column flagstone caps (as shown in the image).
Pavers would not look so right anyway.
Another option was to use wire mesh and fortified mortar (type S with manually added Milky White adhesion additive) to produce a cap similar to the brown thing as seen on top the front wall.
The mesh overlay idea is really an excellent way to add strength but is way too much work and would be cumbersome around the turret sections.
It was decided to use the same thick flagstone edging to cap the turret sections of the wall.
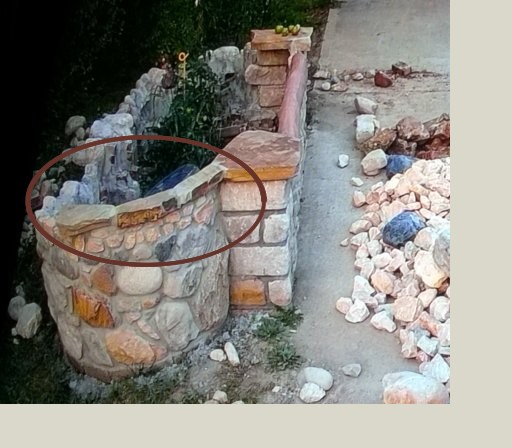
It was proposed to waterproof the inside of this raised garden bed to become a big fish tank. Can you see eating your own fish that you raised proper-like? Mom vetoed the idea so potatoes will grow in here instead of fish.
August 28, 2023 Progress Video


If your device doesn't play the video, try this .webm version instead.
I will later change my mind and not like anything. I removed both caps from the corners and was so fed up with the look of the corners that I bought a special jointer and re-tooled with regular mortar. The appearance is much more pleasing to the eye (despite the obvious deformities of the rock chunks).
The cool special-order tool that is utilized is referred to as a Bead Jointer (which is reverse of an ordinary common concave jointer). 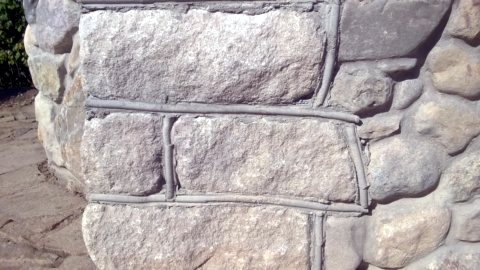 It is not a commonly seen type of joint.
Some Other Do it Yourself Projects